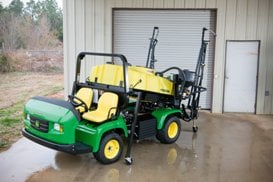
The golf environment can be harsh, especially during spraying activities. The Gen2 TeeJet® controllers are designed to improve water resistance and offer better resistance to weather exposure. There are still two types of controllers to choose from, the automatic and manual models.
- The Gen2 controllers have improved water resistance characteristics and better resistance to inclement weather exposure.
- The Gen2s are designed to plug and play into existing wiring harness just as the previous controllers did.
- Programming, use, and functionality will be identical to the previous generation controllers.
 Gen2 TeeJet digital manual rate controller
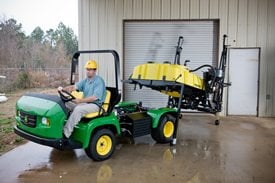
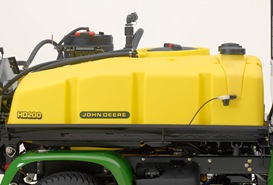
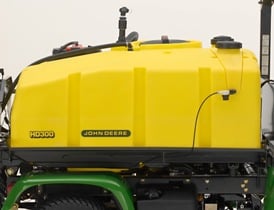
No matter which SelectSpray© Series is chosen - the HD200 or its big brother, the HD300 - the choice of manual or automatic rate control is given.
Manual rate controller
If traditional pressure-based spraying is preferred, the manual rate controller is the right option. The control box mounts to a new ram mount in the glove box that provides improved positioning of the controller for optimum viewing by operators.
A simple liquid pressure gauge allows the operator to see the pressure being produced by the sprayer. Simply set the ground speed, adjust the system pressure, and get ready to spray.
All controls to operate the sprayer are located on the manual control box. Switches include a pressure increase/decrease switch, master switch, individual boom-control switches, boom lift/lower switches, and a foam marker switch.
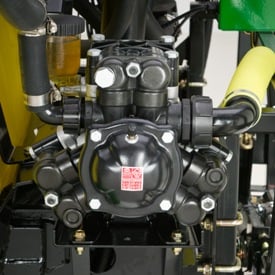
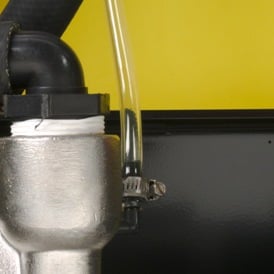
The digital pressure sensor electronically relays the system pressure to the controller’s digital gauge. Simple, dependable and accurate with no hoses or lines to bleed or leak.
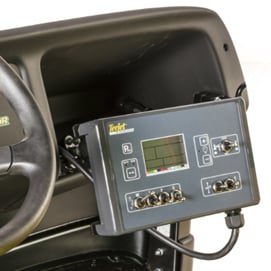
Gen2 TeeJet automatic rate controller
Gen2 TeeJet automatic rate controller
 Automatic rate controller
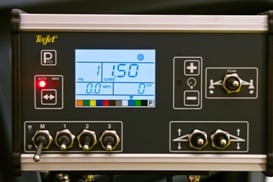
 Digital display
If the preference is for more technology in a rate controller that automatically regulates the target application rate with variations in speed, the automatic rate controller is the option of choice.
The automatic rate controller features all of the same switches as the manual controller, but also adds an auto/manual switch, so that operators can spray in automatic mode or, if preferred, manual mode.
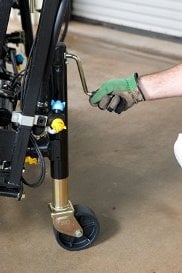
The automatic rate controller also mounts in the same location as the manual controller and can be removed without tools for storage.
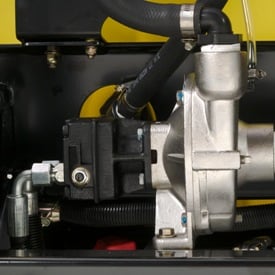
The system ties into the ProGator© speed sensor, and adds a flow meter and digital pressure sensor to send a signal to the digital display to allow the operator to monitor speed, pressure, and application rate all on the same screen.
Units can be set in a variety of ways, including English, imperial, metric, and others, to allow users to read pressure, speed, and application rates in their preferred method.
Using the controller is easy. After turning on the controller, simply press the Pro button twice to enter the application setup screen. The application rate will be flashing. Any number that is flashing can be changed. Use the + and - buttons to set the application rate. Once the rate has been entered, press the Pro button and the pressure will flash.
The rest of the application setup mode is basically a calculator, which helps determine speed, pressure, and nozzle type. The calculator looks at the pressure, speed, and nozzle type to determine each variable's impact on the sprayer's ability to maintain the application rate.
As the application rate is entered into the controller, the pressure automatically changes as the application rate changes. For a given nozzle and speed, the pressure has to increase for a higher application rate, or decrease for a lower application rate.
If the user is not satisfied with the pressure required and wants a higher or lower pressure, use the + and - buttons while the pressure is flashing. The speed will change to show how much the operator must speed up or slow down to meet this pressure with the given nozzle.
Press the Pro button and use the + and - buttons to alter the speed and see its impact on the pressure required to achieve the target rate.
Automatic rate controller's nozzle display
 Nozzle display
One of the most innovative aspects of the automatic rate controller is that it allows the user to input the color of nozzle being used. Nozzle colors are an international standard and are the same for each manufacturer for a given flow rate.
Suppose the user is not satisfied with the pressure and speed needed to achieve a target rate. The nozzle color can be changed in the controller to determine if there is a better fit. Hit enter one more time and the nozzle selector will flash. Use the + and - buttons to select the nozzle type. This helps the user to select the right nozzle for the right application, and minimize chances of misapplication.
Hold the Pro button for 2 seconds to 3 seconds, and the controller will go back to the operating mode. The only value stored is the application rate; the others go back to zero.
The calculator serves as a guide for what speed needs to be targeted to get the application rate for the nozzle and pressure the operator would like to spray.
The automatic rate controller is chock-full of other features, such as a tank volume indicator, warning alarms, test speed modes, and more. A comprehensive list of all the features is described in detail in the operator's manual.
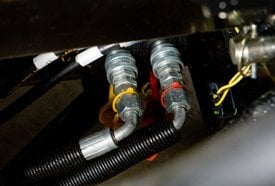
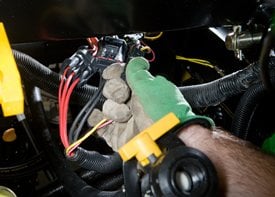
Common wiring harness
What if the manual rate controller is purchased and later the operator decides they want the automatic rate controller? No problem. Due to a common wiring harness, one can easily switch from a manual controller to an automatic rate controller or vice versa by purchasing the kit for the one that is desired.
There is no wiring harness to change out; just add the components that go with the automatic or manual rate controller the operator wishes to install.